Sections
Project Year:
2017
This is a client project for Malmesbury and they were looking for "Creation of augmented reality content of Malmesbury Abbey –to show current and historical views of the site, with overlays of information". For the project I needed to model the Malmesbury Market cross, which is apart of Malmesbury Abbey site.
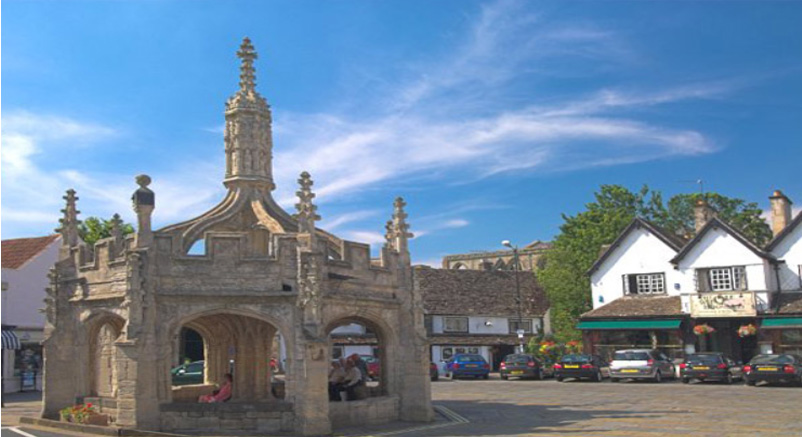
For the research I searched for various different images of the Malmesbury Market Cross for reference, when modelling the asset needed for the augmented reality app. I always referred back to the images to ensure I correctly modelled the market cross and it helped me to produce an accurate model.
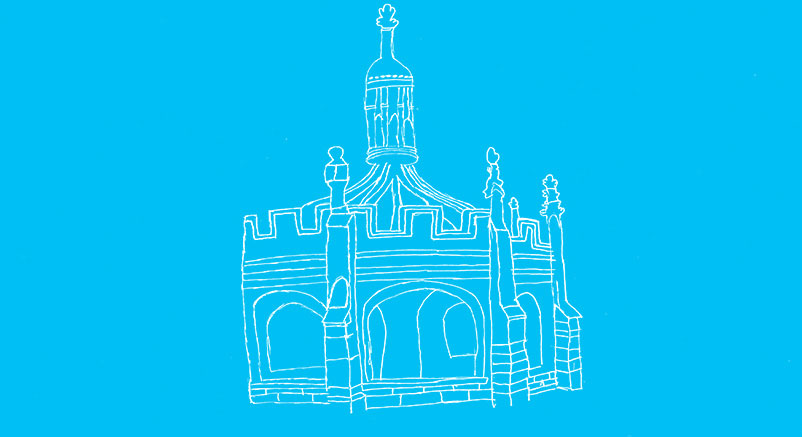
Before I started to model, I sketched the Malmesbury Market Cross because it would help me better envision the way I would start the model. Drawing the market cross enabled me to get familiar with the shape of the model and better understand the various components needed to be modelled.
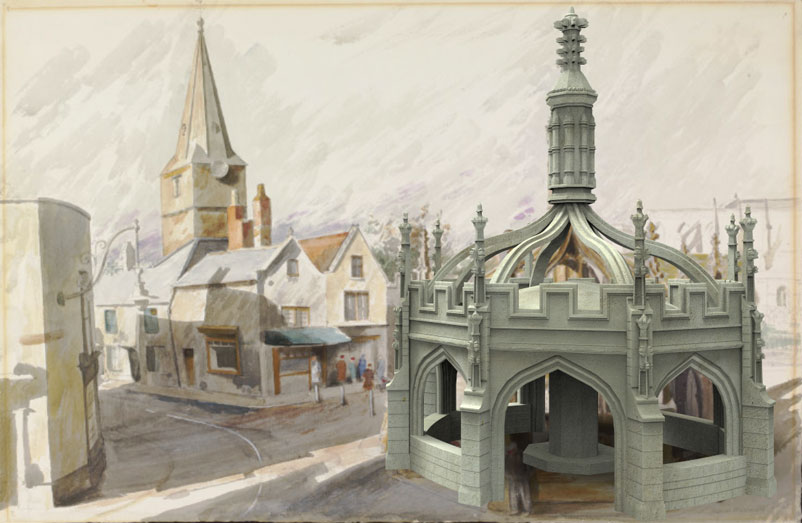
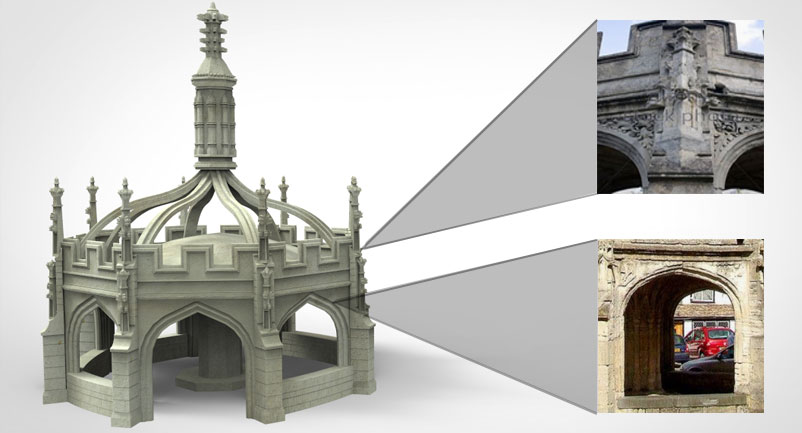
The image below of the model and the actual market cross, demonstrates how I used the images to ensure I was modelling the building correctly. The reference images helped a great deal in the whole modelling process and it kept me on track to producing a visually similar model to the real life counterpart.
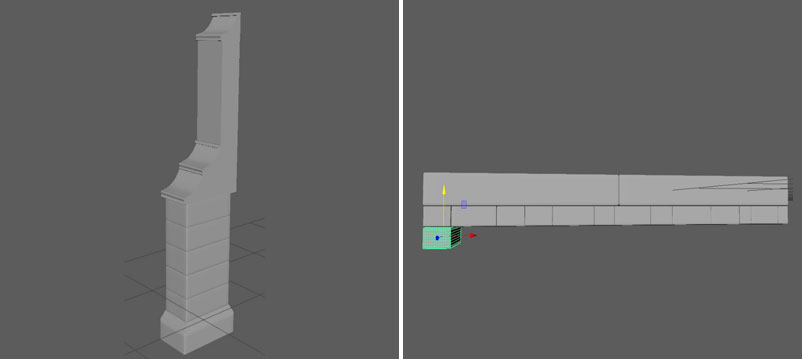
The project had its fair share of problems, I explored different techniques that could be used in modelling the cross. The first attempt, I started off with a octagon shape and then started to implement the features of the market cross.
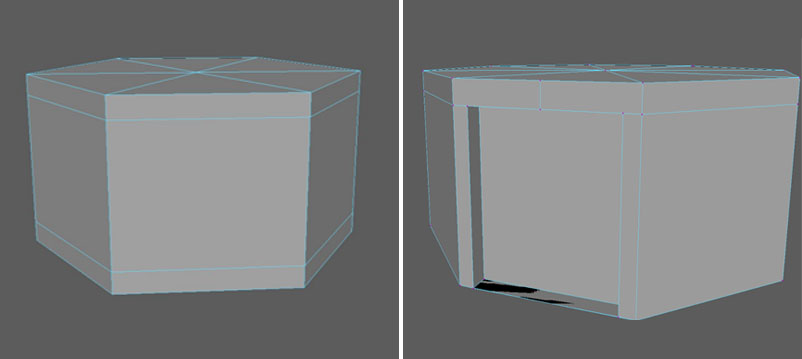
Next I produced the window where the arch and pillars would be placed, but by this point I started to realise I was overly complicate the design of model and give myself more work to complete the model.
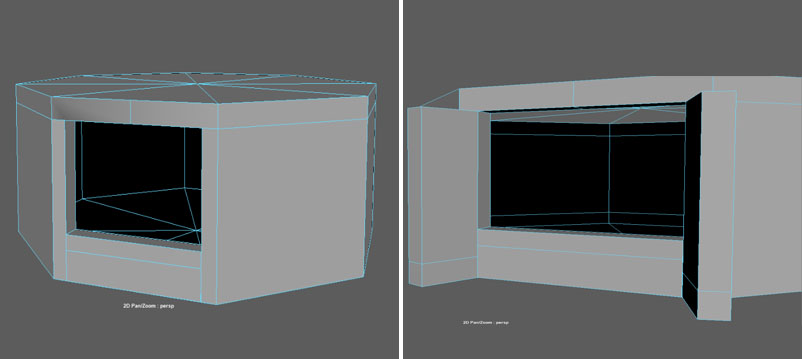
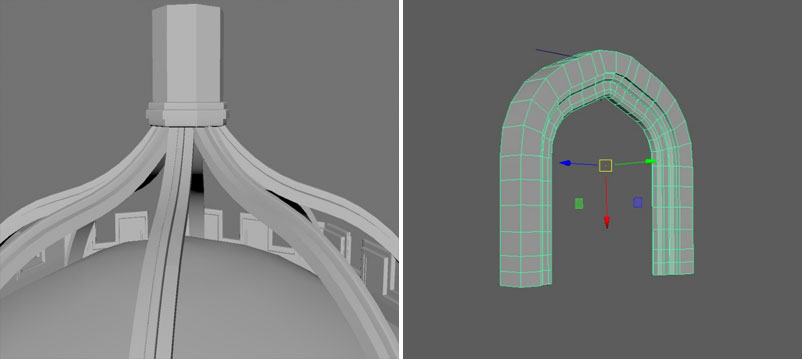
The image on the left started to look like the market cross but I knew from what I had produced that I needed to individually model the different parts of the market cross. On the right, is the first attempt at modelling the arch which would be in the window and it gave me the idea of separately modelling.
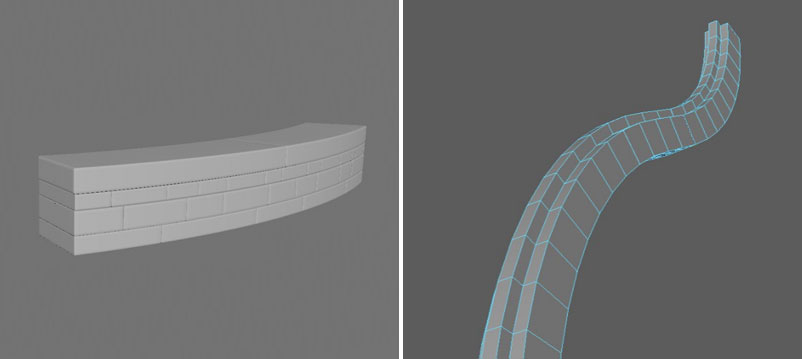
For the market cross, I began to model the outside pillar of the cross paying close attention to the reference images, so included the details in the building. Once I had completed the pillar, I moved on to modelling the small wall which sat on the bottom of the cross; I modelled individual bricks and then put them together to produce the wall.
Once I had completed the wall, I needed to add curvature to model to follow the real life building structures of the market cross; this was done with a bend deformer which allowed me to edit the curve of the wall. Next I began to model the roof arch, again I used the bend deformer tool to provide the curves. Then I had to combine two of the arches to create the S like curve.
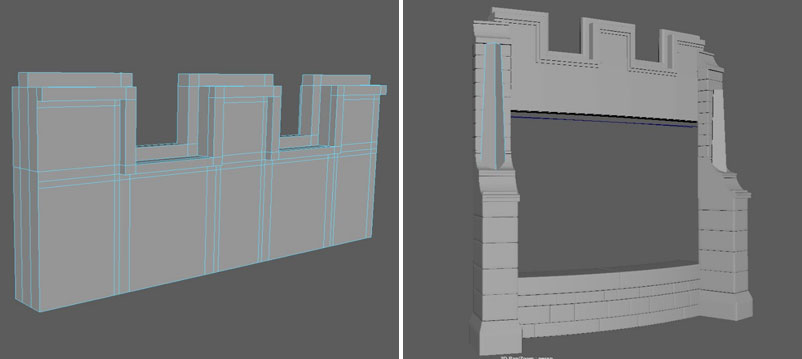
I modelled the wall which sits above the window opening, by simply having a cube and setting it out to the right width and height, and then adding in the detail of trimmings. Once I had modelled the separate parts I combine them together and it can be seen that the model started to look like the market cross.
I began to duplicate the parts of the model to create the octagon shape, this step was easy to achieve once I had the right assets modelled.
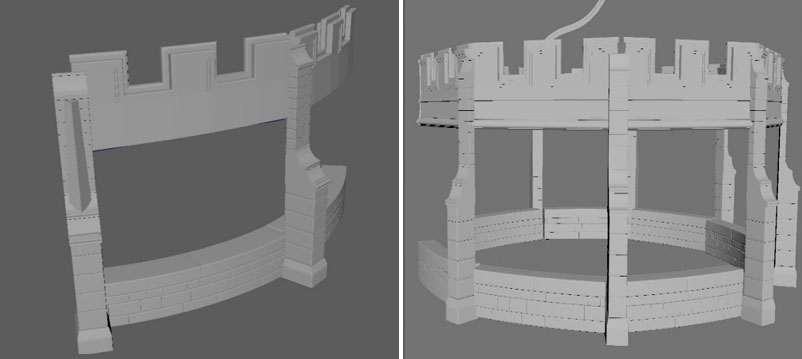
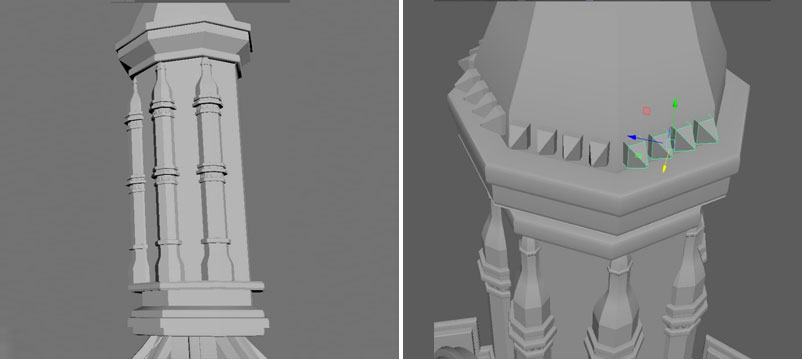
Once the base had been establish I started to model the top of the market cross, I used a simple octagon for the top pillar.

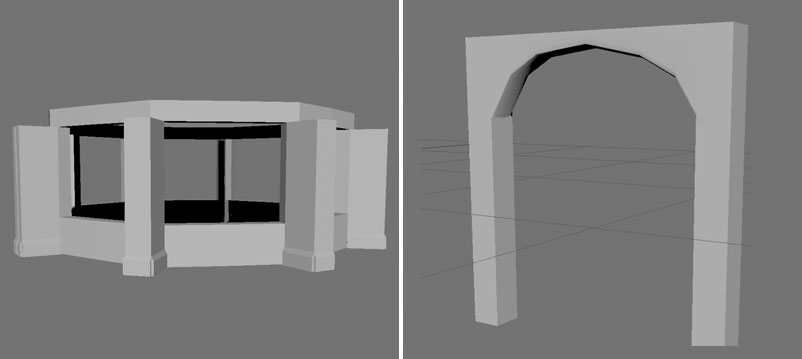
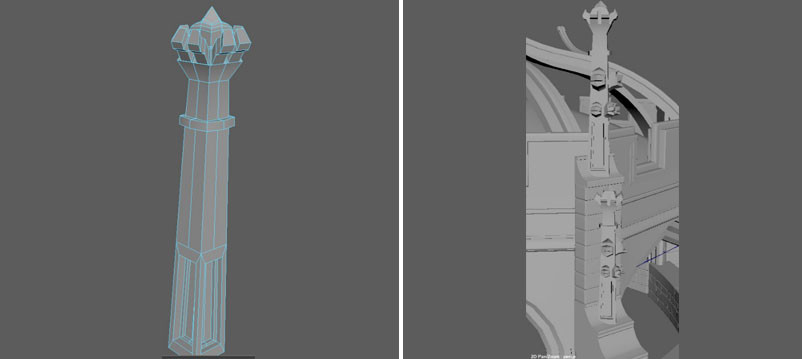
On the left, it showing how I started to model the detail on the pillar. On the right is the arch which sits in the window, for this I had to combine different shapes to create the arch effect.
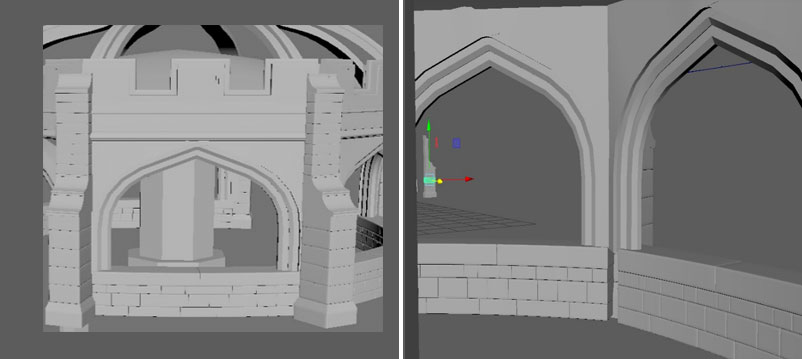
By the time the arch had been model, I put it inside the structure and resized the width and height, so it would feel in the market cross. Below shows how the inside and outside looked.
Then I generated the smaller pillars, which sat on top of the larger pillars. I used quite a few different images of close up shots, so I could replicate fine detailing.
I felt the most difficult part of modelling the market cross was the top because it had quite a bit of detailing and fine features. I just started to extrude different faces of the model to produce the outer rims.
The final step of modelling the building was just producing the small shapes for the top and then adding to the main part.
Once, I had completed everything for the model I exported it to an external 3D rendering software. The software was named Keyshot, and it produced high quality renders in a short amount of time, which was useful as I could get a sense of how the model would look. In the software, you can put on the materials quickly, and this meant I could find the correct materials without hassle.

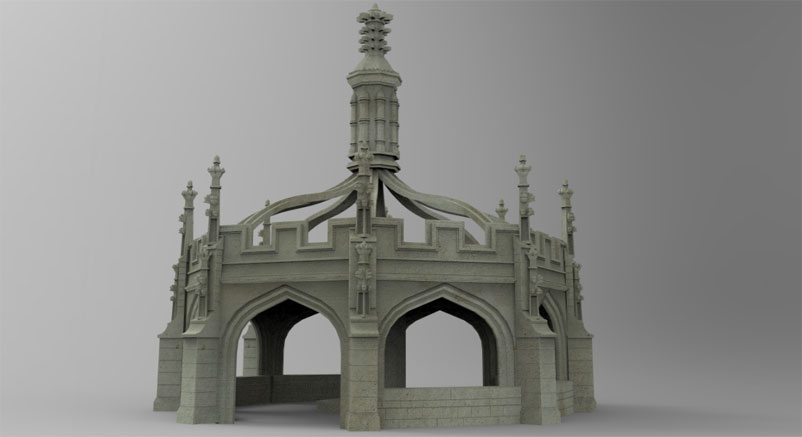
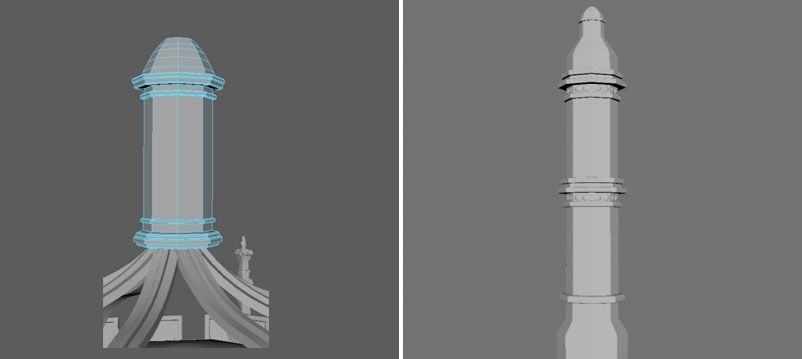
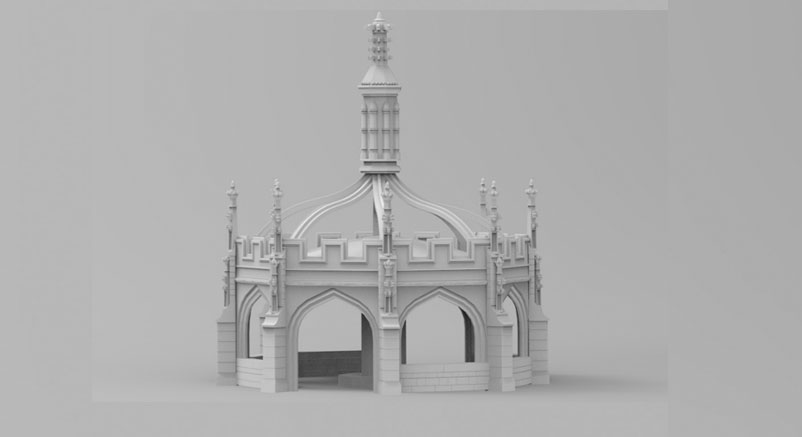
Below image is how the model looked like without the texturing.
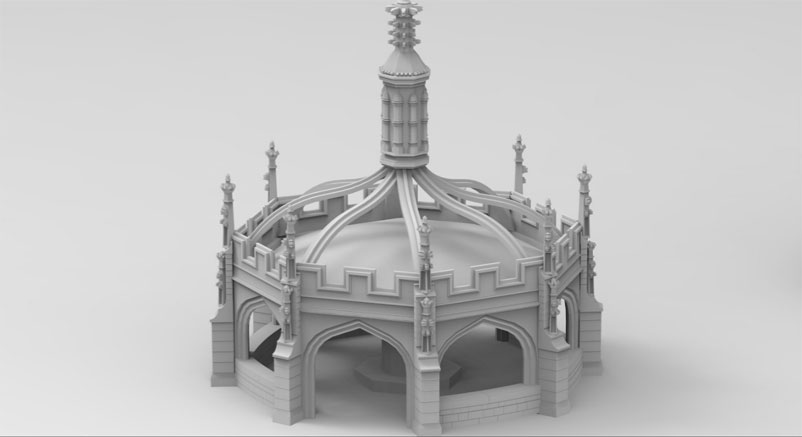
Another look of the model, this image better shows off the top of model.
For the texturing process, I went through the range of different materials until I found the Old stone material which gave the model the correct appearance and added to the value of the model and not hindered it.
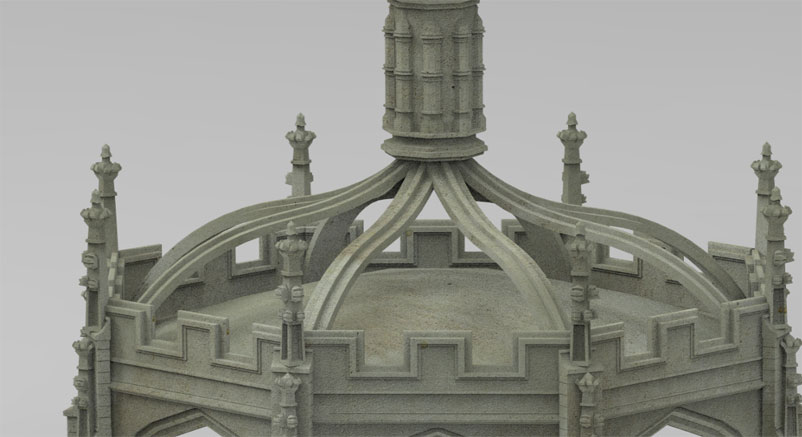
This a view of the entire model with the texturing applied.